#CBBxManiMondayessieindie polishnail artnailsNailStuff.caPicture PolishPR SamplesSally HansenStarrilyWhats Up Nails
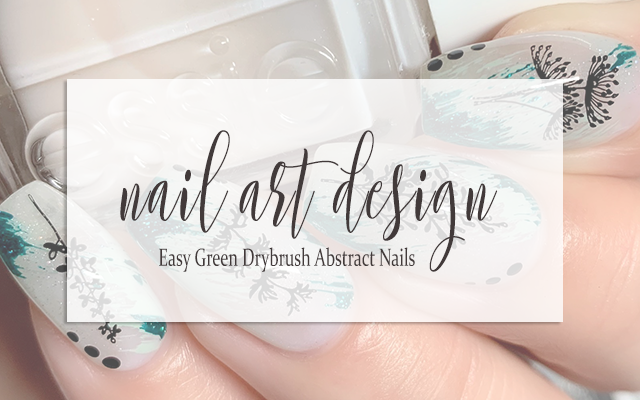
NAIL ART: Easy Green Drybrush Abstract Nails
Happy Monday, guys! Clearly there was no way that I could let the Drybrushing prompt for the Whats Up Nails March Nail Art Challenge go by without doing the style that has sort of become a signature for me over the past year. Combining this design with our green theme for #CBBxManiMonday was honestly one of these easiest mani's I've done in a while. It could be in part that I've gotten pretty good at this technique, but I also think this is a really great beginner mani.
Keep reading for more!
Choosing the right sheer polish for your colour story can sometimes be tricky, but a really good option to have in the stable is a milky white that applies evenly and without streaks on one coat. I think that having that sheer base underneath this kind of mani really gives a pretty look. I reached for Essie's Sheer Luck, which is very, very slightly pink and has a really fine pearly shimmer through it. When applied in one thin coat, it has a beautiful camouflaging effect and stays really soft and neutral.
For my drybrushing, I wanted to go with cooler toned green shades because I've found that I've really been leaning towards warmer, more yellow based greens recently and I wanted to change it up a little. First, I grabbed for two very similar shades, one in a créme finish and one in a creamy holo finish, and then I decided I wanted to add some depth and grounding so I also grabbed a much darker holo flake polish as well. I kept all of my dry brush swipes moving in the same direction and tried to keep the darker swipes more contained so that they didn't take over.
Once I was happy with the dry brushing, I went in with my stamping. I wanted to use these sort of herbal/botanical images from the Whats Up Nails B044 Stamping Plate with each nail being a different image, so I mapped out which image would go on which nail (based loosely on size) and then placed them all roughly in the center of the nail with slight angling on some. I was going to leave it at that, but I couldn't resist adding a few dots for good measure so each of my nails also got three small dots at one of the corners.
Before I could go in an add the kitchen sink, I decided I was done and sealed in the design with a water based top coat before finishing with a quick dry glossy top coat. And voila!
All Products Used
Essie - Sheer Luck
Sally Hansen Insta-Dri - Thyme Is Money
Picture Polish - Sage
Starrily - Everest**
Whats Up Nails - Straight Up Black
Maniology Smudge Free Top Coat
Quo Flash Dry Top Coat
Whats Up Nails B044 From Ground Comes Life Stamping Plate
Whats Up Nails Magnified Clear Stamper
NailStuff.ca Dotting Tool**
**Product was gifted from NailStuff.ca - new customers can use affiliate code TRYSH for 10% off.
Honestly, I just can't get enough of this style of nail art - I try a lot of different things and there's no way I could do this all the time, but it is definitely a style I always seem to come back to and I'm not mad about it. Drybrushing really is a technique that I think anyone can do and can create beautiful mani's with - just trust the process, because it can look a little rough in the middle but by the end it'll look great!
Be sure to head over to Cosmetic Proof and See The World In PINK today to check out what's on their nails for this #CBBxManiMonday!
Thanks for reading!


0 comments