NAIL ART: Turquoise & Lavender Marble Gel Nails
I don't do a ton of gel nail art here on the blog, though I do occasionally get little bouts of wanting to pull out my lamp and try out some stuff. The truth is, I feel like gel polish and traditional polish really just lend themselves to distinctly different types of nail art and I just tend to do more of what lends itself to working best with traditional polish. That said, there are often styles of nail art that I'm drawn to that I know I really sort of need to do in gel to get the look I want, so when Born Pretty reached out and asked me if I wanted to try out some products I jumped on the opportunity to play around with some different designs.
Keep reading for more!
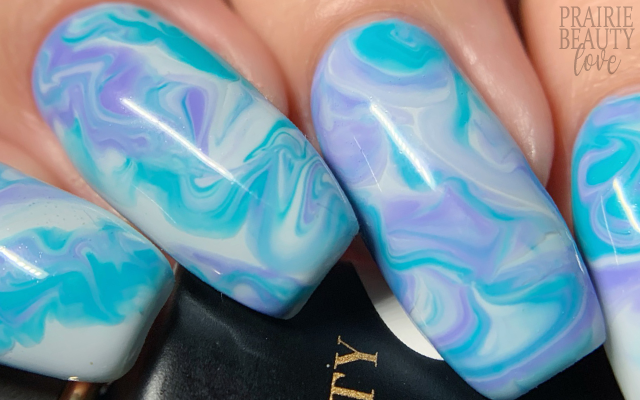
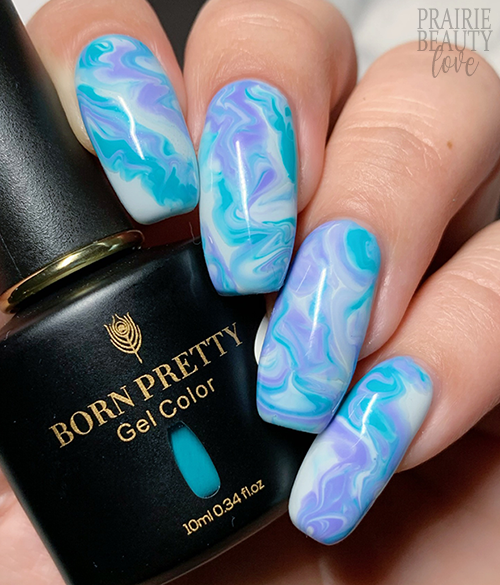
Honestly, I don't really know what made me choose the three shades of gel polish that I used in this mani, but on the day that I was perusing the site these were definitely the ones that jumped out at me for some reason and I actually do think that they create a really pretty color story. BP118 is a really pretty soft, neutral grey shade that I knew would make a beautiful nail art base. BP112 is a really beautiful midtoned lavender. And finally BP126 is an absoltuely gorgeous turquoise that definitely has some punch and brightness to it. Honestly, I think I had something in mind when I picked these shades, but I can't for the life of me remember what it was, so I'm glad that this other idea came together so well.
To create this design, I started by applying a peel off base coat. Since I do post 3-4 nail art designs per week, I need to be able to remove it easily so I always use a peel off for gel, but if you're looking for a long wearing mani skip this step and go with a gel base coat instead. Next, I applied two coats of BP118 to all of my nails, curing for 30 seconds between coats, to serve as my base. Because I was going to be doing this sort of loosey goosey marble design, I wanted to have a base down that would sort of disappear once I applied that.
To create the marble, I started by applying a line of each of the three polishes I was using to a yogurt lid, as you do, and then used a fine dotting tool to lightly marble the polishes together. Once I was done with that, I applied a thin layer of Blooming Gel over my base coat and then used a gel brush to sort of scoop up some of that marbled polish and then dragged it onto the nail, doing a couple of really sort of freeform lines of polish. What the Blooming Gel does is helps that polish to spread and sort of soften to really help give that organic feel of marble. I also went in with a pointed wood stick and moved the polish a little myself in spots, just to get the look I wanted. Once I was happy with the spread of the polish, I cured in the lamp again.
To finish, I applied a gel top coat to all of my nails and cured. And voila!
All Products Used
Unt Ready For Takeoff Peel Off Base Coat
Aimeili Gel Polish - Blossom Clear
Aimeili Gel Polish Top Coat
* = PR Sample
There is definitely something to be said for gel nail art. This was a surprisingly quick mani to put together and then I was good to go. And even though I'll probably always have a soft spot for traditional polish, I can definitely see the appeal of gel for all it can do to create really beautiful designs in very little time. I love how this turned out and I'm really impressed by the performance of the Born Pretty Gel Polishes*. They have great pigmentation, they apply really smoothly and easily, and I didn't have any issues at all with curing. This is honestly a solidly good quality, budget friendly option, especially if you're just getting into gel polish.
If you want to see how I created this mani, be sure to head over to @pblnails on Instagram and check out the video tutorial. Also, be sure to follow me there to keep up on all of my nail art designs!
Thanks for reading!


0 comments