
NAIL ART: Soft Grey Cable Knit Sweater Gel Nails

A few years ago when I was very first experimenting with gel nail art, I first tried out the 3D cable knit nails technique and ever since I've considering trying it out again but I've never actually gotten around to it. Finally, I decided I wanted to give it another go and see how much time and experience impacted how it all came together. It's actually a sort of interesting exercise and one I'm now considering playing around with more because I feel like I can definitely see the improvement both in my skills but also in my confidence when it came to putting together this mani.
Keep reading for more!
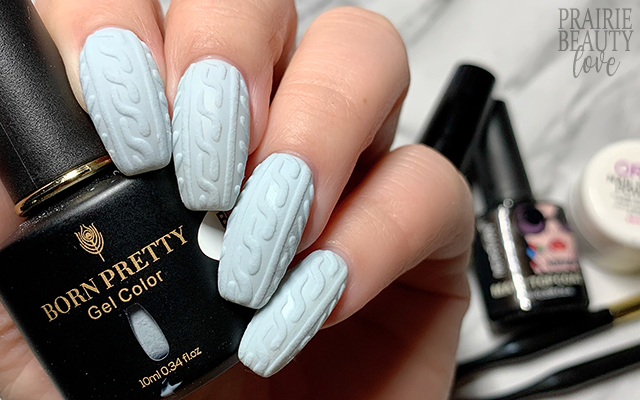
I was actually inspired to try out this mani because I felt like this really soft grey polish that was kindly gifted to me from Born Pretty would make a perfect cable knit design. It's such a soft, cool toned grey that it just sort of screamed winter to me and I felt like it would work really well for this design.
To start, I applied a peel off base coat to all of my nails and let that dry down completely. Next, I applied two coats of BP118 gel polish, curing for 60 seconds in my lamp between coats. Once was base was opaque and cured, I went in with a matte gel top coat and applied one thin coat to all of my nails and cured that for 60 seconds as well. Once that base was finished, I removed the tacky layer with alcohol so that I was ready to move onto the next step. It's important that you don't have a tacky base when applying the nail art, so definitely don't skip that step.

For the actual cable knit design, I worked on one nail at a time, which I think is very much necessary with this technique. I applied some of the same polish I used as my base to a palette (and by palette, I mean a yogurt lid) and grabbed a fine liner brush to create the design. The best way to paint this design, in my opinion, is to start with the actual cable knit part down the center of the nail. To do this, I start with the first full line at the base of the nail and move towards the tip and then I go back and add the partial lines at the base and tip at the end. Next, I paint the single lines down each side of the cable and then finish by adding the small angled stitch lines along each side of the nail. Before curing, I then use a cuticle tool to scoop some acrylic powder, in this case Nail Repair Powder, onto the uncured design and then tape the side of my finger to release any loose excess powder before curing for 60 seconds.
Once all of the nails were fully cured, I went in with a fan brush to remove any of the remaining powder that wasn't cured to the nail design. And voila, that's the whole process. If my instructions have been unclear, please do head over to @pbnails on Instagram and check out the video tutorial for (hopefully) more clarity.
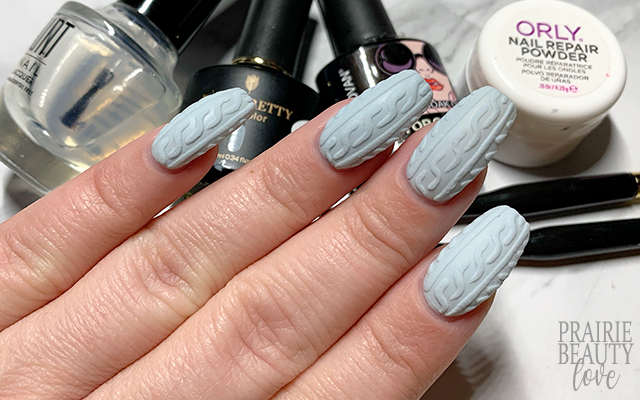
All Products Used
Unt Ready For Take Off Peel Off Base Coat*
Morovan Matte Gel Top Coat
Orly Nail Repair Powder
* = PR Sample

I'm honestly just so thrilled with how this mani turned out. I think I tend to avoid doing gel nail art because it's intimidating to me, but so often when I do I'm just so thrilled with the results that I really do feel like I need to start playing and experimenting more with gel nail art designs.
If you're interested in getting into gel nail art, I definitely recommend the Born Pretty gel polishes from their Black Spar Series. I've only tried three of them so far, but they have a great formula and have been really easy to work with regardless of what technique I've been using with them. Also, please do feel free to use code TRYSH10 for 10% off your order!
aslkfja


0 comments