
NAIL ART: Warm Green & Gold Marbled Stone Nails
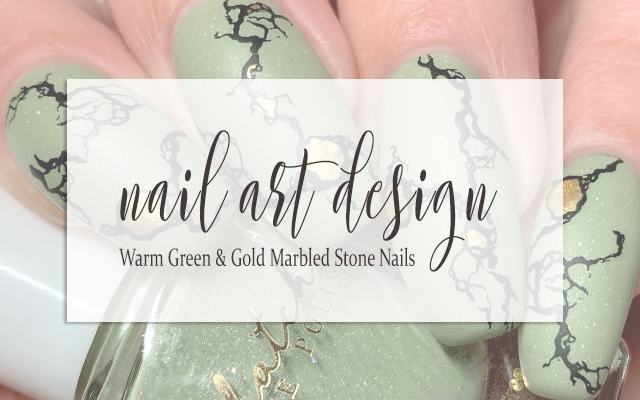
Have I had this exact mani in mind for months at this point? Absolutely, I have. I actually bought the base polish I used for this mani with a marble/jade sort of design in mind because I think it's the perfect color and texture to effect the look of natural stone and I've also had this stamping plate for ages but hadn't gotten a chance to use it yet. I personally think that a stone look nail always has a really cool effect and it's also a super versatile design idea that you can do a lot of different things with.
So without further rambling, let's get to the nails!
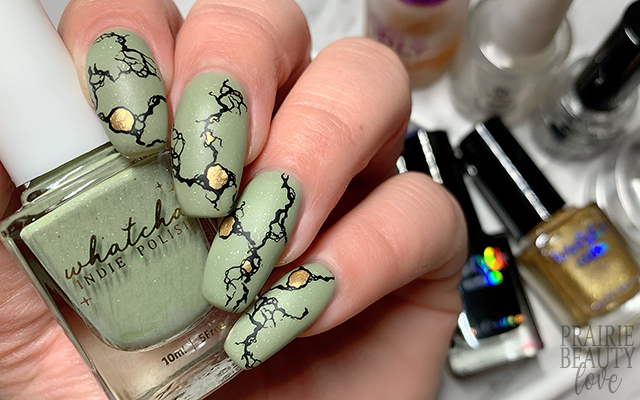
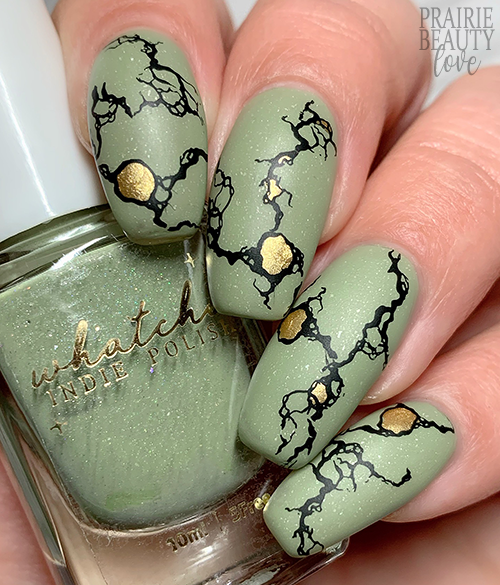
The base polish I used for this mani is from Whatcha Indie Polish and it's actually my first time trying out a polish from this brand. I've considered buying their polishes from PPU a few times before, but this one I definitely couldn't resist because it's so very in my wheelhouse. Oh Baby! is a sage green crelly packed with holo flakes. It's honestly really, really stunning worn glossy, but of course for this mani because I was going for that natural stone look I had to go with a matte finish and those flakes end up adding a really nice, subtle texture to the base.
For this mani, I ended up going with two fairly thick coats for opacity and I let those dry down while I moved onto my reverse stamping.
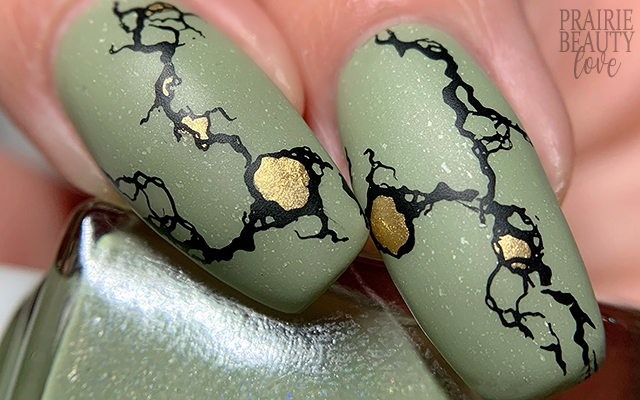
The thing I loved about these stamping images was these sort of really cool voids in the images that I thought would be perfect to add a metallic polish into to add some shine and another texture to the overall design. I really think this design is all about texture, actually. I used a black stamping polish for this design and filled in those voids with a really impactful gold stamping polish using a fairly small dotting tool.
Once the reverse stamping was dry, I applied a thin layer of sticky base coat over my base polish and let that dry down for about a minute or so until it was tacky and then transferred the decals directly from the stamper onto the nail. Next, I wanted to add more stamping to better fill in the nail, so for each nail I went in with one or two more pickups of the sort of small marble images and just sort of built onto those original images with the reverse stamping.
Once I was happy with my design, I sealed everything in with a nail art top coat and then finished with a layer of matte top coat to bring down that shine and give that natural stone look. And voila!

All Products Used
Whatcha Indie Polish - Oh Baby! (PPU)
Whats Up Nails - Neither Noir
Whats Up Nails - Go For Gild
Orly Bonder Base Coat
Apipila Smudge Free Top Coat
Anchor & Heart Sea Glass Matte Top Coat
KADS Fashion 095 Stamping Plate
Whats Up Nails Magnified Clear Stamper & Scraper*
NailStuff.ca Dotting Tool** ~ code TRYSH for 10% off your first order.
* = PR Sample / ** = PR Sample/Affiliate
Be sure to head over to my Instagram @pblnails to check out the video tutorial for this mani as well as all of the other nail art designs I post here on the blog. And, of course, don't forget to head over to Cosmetic Proof & See The World in PINK for more green/spring themed nails for this week's #CBBxManiMonday!
Thanks for reading!


0 comments