
#indiepolish#NailArtColor ClubCuticulaindie polishKADSnail artnailsNailStuff.caSally Hansensmoosh mani
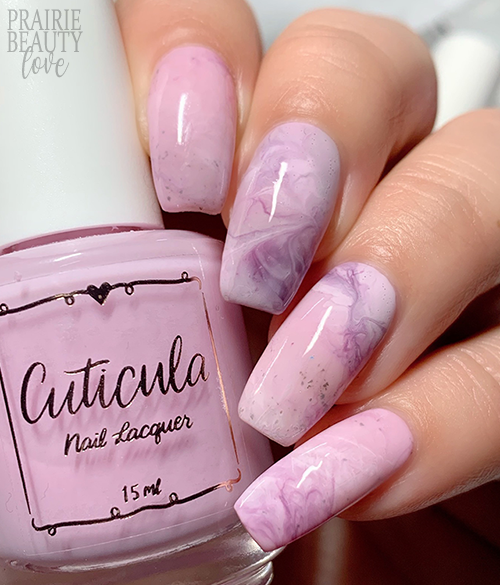
NAIL ART: Amethyst Inspired Smoosh Marble Nails
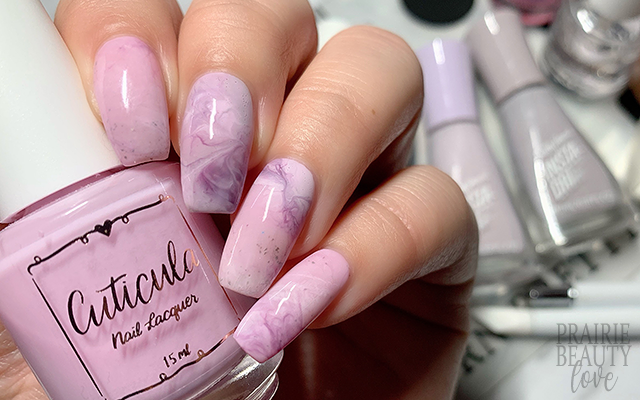
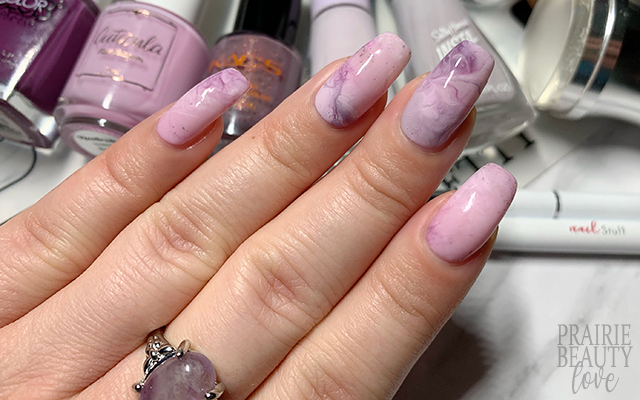
I've noticed a bit of a pattern with myself that I'm not entirely sure what to make of, if we're being honest. This will be the third January in a row where I've found myself inspired to do some sort of marble or natural stone look nails. I don't know what it is about the post holiday season that leads to this, but it is definitely a thing I just keep doing without realizing it until after the fact. For this mani, I was actually inspired by an amethyst ring that I picked up at the local crystal shop recently (you can see the ring in one of the photos below, if you're interested) and though this didn't turn out quite as smoky and purple as intended I do actually really, really love it.
Keep reading for more!
I think what ended up making this mani pull so much more pink than I had planned is this base polish that I used. The Neutralizer Base Coat from Cuticula is a color correcting base coat intended to camouflage yellow stained nails, but I personally just love it as a cool violet sheer polish - which was my intention when I ordered it, since I'm not much of a base coat kind of a girl. It's also kind of perfect for this type of mani because it's sheer enough to get that sort of see through quartz kind of look but also helps to camouflage the nail line.
For this mani, I applied one coat of Cuticula Neutralizer Base Coat to all of my nails and let it dry down completely.
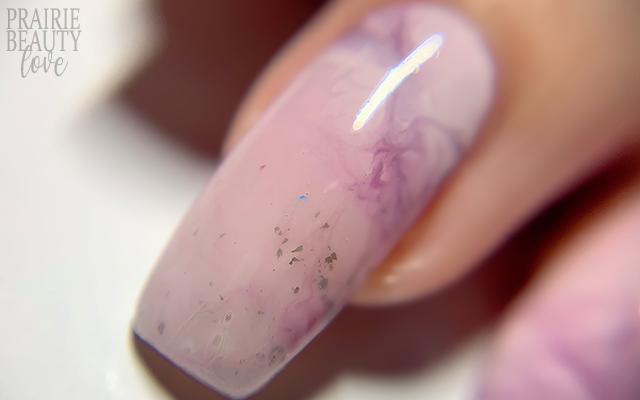
Now, there are two ways that you can do the smoosh to get this marbled look and I will admit that for this mani I actually ended up doing both of them. For both techniques, you start by applying a layer of your sheer polish to a nail art mat (or a piece of plastic, if you don't have a nail art mat.) Next, you apply a couple of dots of a few different shades to create the marble. For this mani I used a sort of sheer mauve flakie polish for some texture and then quite pigmented polishes in a cool grey, a nearly white pale lavender, and a richer ashy purple. Once your polish is applied to your mat, drag a fine nail art brush through the polishes a few times to lightly marble - be careful not to over mix. Next, you're going to press your stamper into your polish and pick it up.
This is where you can go one of two ways. Either give it a minute or two to dry down a little bit on the stamper head and then transfer to the nail, or let it dry down on the mat until you can peel it up and then apply it like a decal using a sticky base coat. Honestly, you can get a good look using either technique - which I think is evidenced by the fact that I did use both for this mani and I think it turned out pretty cohensive - so it's really just a matter of what you prefer.
Once I was happy with my mani and had trimmed and cleaned up the edges, I went in with one more layer of the neutralizing base coat to soften the design and give some of that quartz like depth, and then I followed with a generous layer of quick dry glossy top coat for shine. And voila!
All Products Used
Cuticula - Neutralizer Base Coat
Sally Hansen Insta-Dri - Heather Hustle
Sally Hansen Insta-Dri - Against The Grey-In
KADS - YM06 Orchid Mist
Color Club - Talk Dirty To Me
Orly Bonder Base Coat
Cuticula Limitless Quick Dry Glossy Top Coat
Pueen Latex Tape Liquid Peel Off Cuticle Guard
NailStuff.ca Clear Stamper**
NailStuff.ca 11mm Nail Art Brush**
NailStuff.ca Angled Silicone Tool**
Born Pretty Store Silicone Nail Art Mat
Born Pretty Store Cuticle Tool
** = PR Gifted from NailStuff.ca - use affiliate code TRYSH for 10% off your first order.
Not even going to lie. As I sit here writing this post and looking at these nails, I'm so tempted to basically do this exact same look using a sheer white base for a white quartz inspired mani. In fact, do keep an eye out because it very much might be on the way. Since I do so much stamped nail art here on the blog, it really is nice to do something that doesn't require plates and still creates a beautiful look. In fact, I'm beginning to think I might have just explained my beginning-of-the-year marble smoosh pattern...
For a video tutorial on how I put together this mani, please head over to @pblnails on Instagram and drop me a follow there to keep up on all of my nail art designs and videos!
Thanks so much for reading!


0 comments