
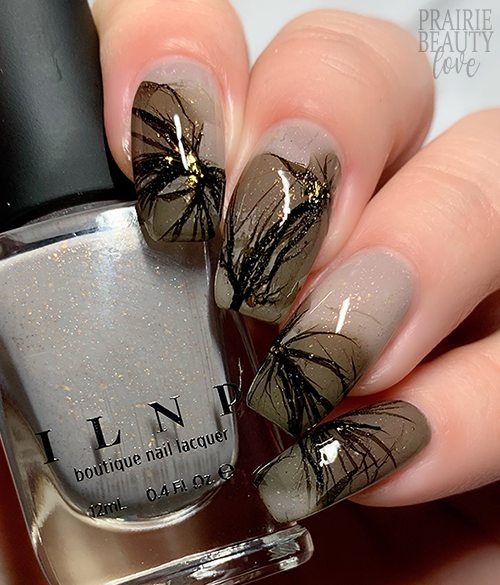
NAIL ART: Black, Taupe & Gold Veil Petals Nails
Because I've been in a bit of an inspiration funk lately, I've really been trying to figure out why and I think it came to me while I was doing this mani. I've done so many stamping designs over the past few months that I'm just kind of saturated and my brain wants to do something else. A few years ago, when the veil method first hit the internet, I did try something very similar to today's mani, but I think that both my skills and my attention to detail have evolved and this is definitely a step up from that first try. It's also a phenomenal technique if you're just starting out in nail art because technically all you need is a couple of different nail polishes, a cup of water, and some acetone for cleaning up.
Without further ado, keep reading for more on this mani!
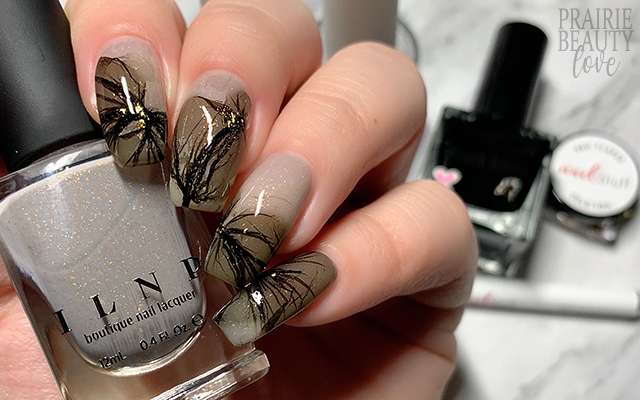
Going into this mani, I knew that I wanted there to be a sheerness to the overall look, but I didn't want to so a white or pink milky base. Instead, I decided to grab for ILNP's Sandcastle, which is this sort of neutral taupe with copper and gold microflakes along with a little bit of holo flake throughout. I love this polish built up to opacity and I think it's an amazing base for nail art, but for this mani I decided to keep it sheer by only apply one coat to all of my nails as my base and I love the effect. You still get that color and the look of the flakes, but it's see through and I think it adds a sort of effortlessness to this mani overall.
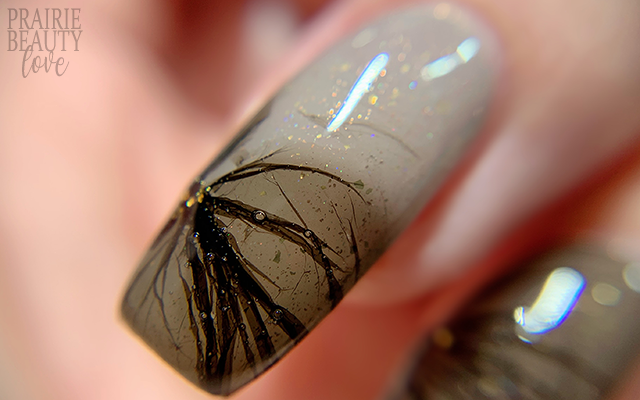
To do the veil effect is actually really easy. You're going to need a polish that has good pigmentation but not too thick or pigmented, a solo cup of room temperature water, and a couple of toothpicks or orange sticks or some sort of sticks that you don't mind getting polish on. You're going to put one or two drops of polish onto the surface of the water and let it spread. Next, you're going to give it a little bit of time (you can blow on it a little to speed this up) so that it starts to dry on the surface of the water and then you're going to take your sticks and pinch to get the sort of leafy petal effect. The way that I like to do this technique is to actually dip my finger under the surface of the water on a spot where there isn't polish and then come from below to get this onto my nails. I find that this gives me a better result and I can better control the placement of the veil. For this mani, I also decided to add some gold metallic flakes at the pinched point of each petal to just really bump up the interest and also to reference that base polish.
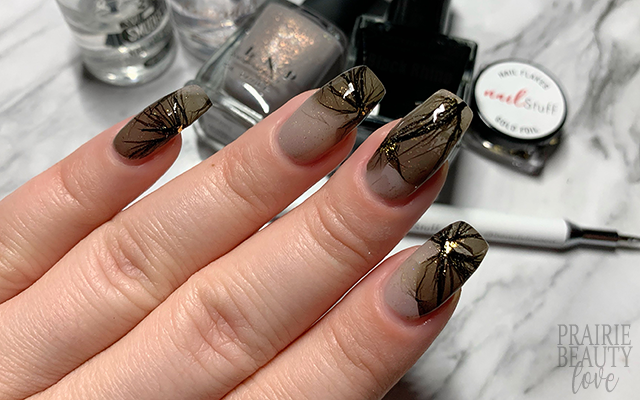
Once I was happy with the design and had cleaned up my edges (and also made sure that the surface of my nails had dried from the water) I sealed in the design with a water based top coat and then followed with a fairly generous layer of glossy top coat for shine and a smooth finish. And voila!
All Products Used
ILNP - Sandcastle
Dimension Nails - Black Rhino**
Apipila Smudge Free Top Coat
Cuticula Limitless Top Coat
NailStuff.ca Gold Foil Nail Flakes**
NailStuff.ca Dotting Tool**
Pueen Latex Tape Liquid Peel Off Cuticle Guard
** = PR Gifted from NailStuff.ca - use affiliate code TRYSH for 10% off your first order!
This is such a fun technique and I'm finding myself really curious to see if I could play with different ways of pinching the polish or with using multiple different colors. I honestly feel like this has sort of been underrated and not experimented with enough - at least as far as I've personally seen. Definitely interested in playing around a little with this one, so keep an eye out.
If you're not following me on Instagram yet, please head over to @pblnails to check out all of my nail art designs and video tutorials for how I did them!
Thanks for reading!


0 comments