
#NailArtAffiliateApipilaColor ClubCuticulaDam Nail PolishGlisten & GlowManiologynail artnailsNailStuff.caPR Samples
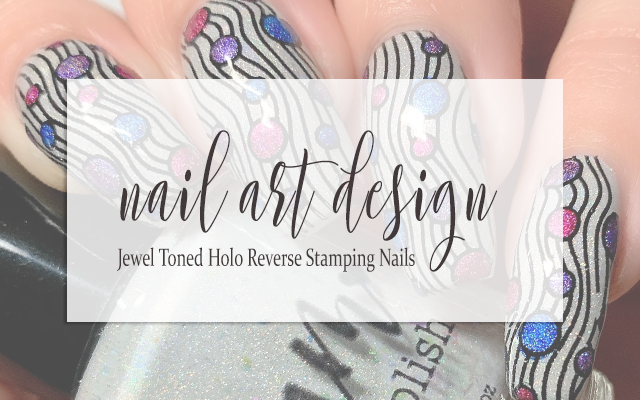
NAIL ART: Jewel Toned Holo Reverse Stamping Nails
A couple of days ago I decided that I'm going to lean into an idea I had to create new manis using some of my favorite stamping images that I've used before. Not only does this whip me into some much needed excitement at getting to use these images that I love again, but it challenges me to do something different than what I did before. And honestly, it has pretty much immediately bumped me back into being excited to create new nail art. For today's mani, I grabbed for a collaboration plate from Maniology that has several really great images on it and some of my favorite holo polishes for a fun and playful design that has me wanting to constantly stand underneath that light in my hallway that is magic for holo.
Keep reading for more!
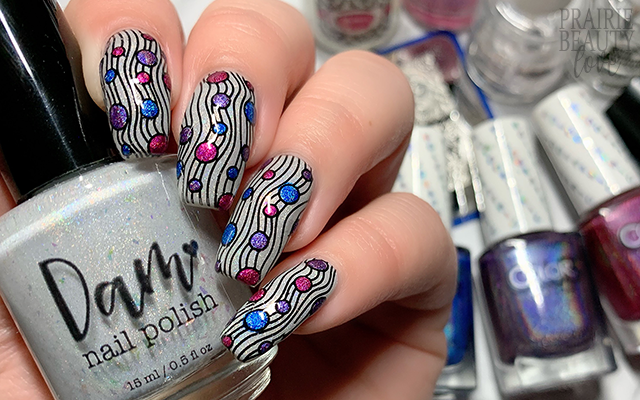
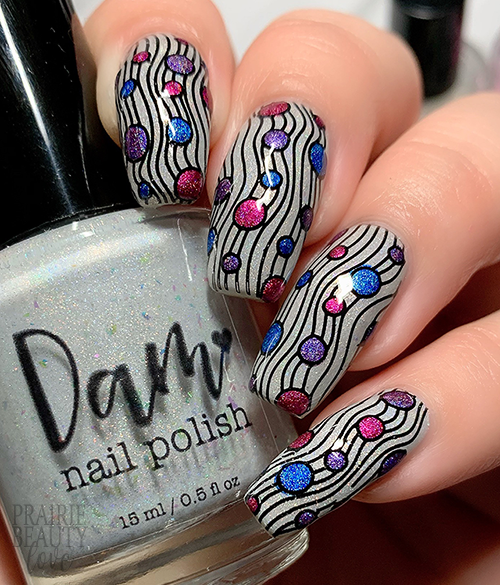
The last time I used this image, I kept it super simple with a stunning indie base (one of my favorite polishes, actually) and super simple white stamping. This time around I knew that I wanted to go a lot more intricate with higher contrast and reverse stamping and I pretty much immediately knew which polishes I wanted to use. For my base, I went with Dam Nail Polish's Opal, which is a really soft almost white silvery holo base with really subtle flakes through it. I'm sort of in love with this polish as an option for a pale, opaque base. For the fill on the stamping, I decided to go with jewel toned linear holos that I knew would really pop in this mani. I grabbed three of my all time favorite linear holo polishes from the Color Club Halo Jewels Collection and I was ready to go.
To start, I applied two coats of Opal to all of my nails as my base. I find two coats of this polish to be sufficient for a base, especially for nail art, but depending on how you polish you may need three coats, but it builds well and dries quickly so it's no big deal.
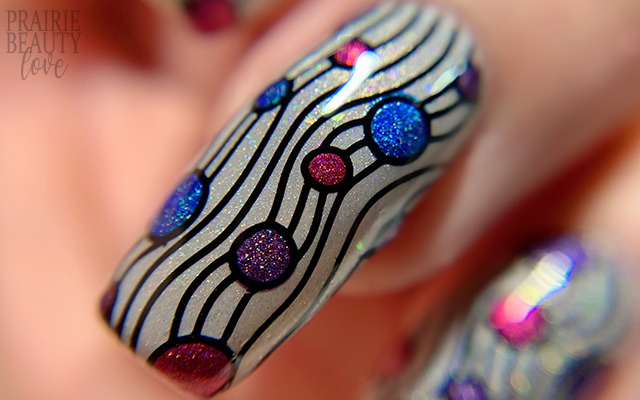
For the stamping, since I wanted high contrast I obviously grabbed for a black stamping polish to pick up my image. This image picks up really, really beautifully and has an almost lacy vibe. The way I prefer to do my reverse stamping is right on the stamper head and without adding a top coat to the design. This method has pros and cons, but it's the one that works best for me. I used a dotting tool to fill in the dots sort of randomly with my three holo polishes, trying to keep it balanced as far as placement of shades and balance between the three. After letting the fill dry down on the stamper until it was surface dry to the touch, I applied a thin layer of sticky base coat and let it dry down for about a minute until it was tacky and then transferred the image directly to the nail. You do have to be a little bit careful with these kinds of images because those slim lines can break when you transfer, so a slow roll on the nails will generally be the way to go.
Once I was happy with my stamping, I cleaned up using a brush dipped in acetone and then sealed in the design with a nail art top coat. Next, because reverse stamping can tend to get lumpy, I went in with a glitter smoothing top coat to give a smooth surface. And then finally I finished with a quick dry glossy top coat because of being extra. And voila!
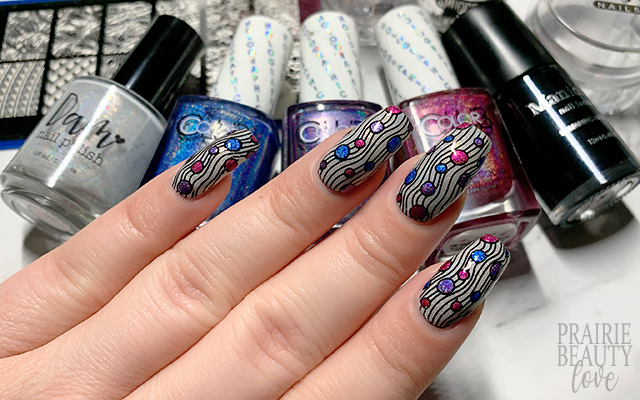
All Products Used
Dam Nail Polish - Opal**
Maniology - Straight Up Black
Color Club - That's Rich
Color Club - Under Pressure
Color Club - What A Gem
Orly Bonder Base Coat
Apipila Smudge Free Top Coat
Glisten & Glow Glitter Grabber Top Coat
Cuticula Limitless Quick Dry Top Coat
Pueen Latex Tape Liquid Peel Off Cuticle Guard
Maniology BM-XL209 Lucy's Stash Stamping Plate
Whats Up Nails Magnified Clear Stamper
NailStuff.ca Dotting Tool**
** = Product PR Gifted from NailStuff.ca ~ new customers can use affiliate code TRYSH for 10% off your first order!
I really, really love how this turned out and, like I said above, I'm more than happy to just stand in my hallway under the perfect light for making the holo sing. Also, I really am super excited to play with all of these much loved stamping images and I feel like I really have some great nail art coming up in the next few weeks so be sure to keep an eye out!
Also, if you're not already following me over on Instagram @pblnails, be sure to head over there and follow for video tutorials for all of my nail designs!
Thanks for reading!


0 comments