
#HalloweenNails202212 Nails Of HalloweenAlchemy LacquerHalloweenHalloween NailsKADSManiologynail artnails
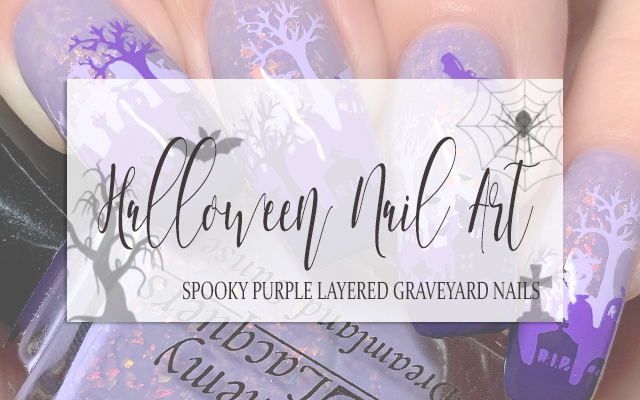
HALLOWEEN NAIL ART: Spooky Purple Layered Graveyard Nails
I feel fairly confident that the first real nail art design I ever did for the blog was a really simple graveyard design that has become sort of a classic, and as the years have gone by I've continued to do a lot of different graveyard designs with increasing complexity. One of my personal favorite styles of graveyard nails is a layered design so that you almost get that look of depth and mistiness through it. Even though I did a mani very, very similar to this one last year, I decided that I wanted to recreate it with a few key differences this year because... well, mostly just because I love this design and I can do whatever I want. I mean, if we're being honest and all.
Anyway, keep reading for more!

The color story for this mani was at least in part dictated by the stamping polishes I had on hand. I really wanted to keep it all one color because I think it really adds to the creation of depth, so I was limited in what I could do with what was in my collection. Luckily for me - I have a LOT of purple stamping polishes and was pretty easily able to create a spectrum that clicked boxes for both cohesion and overall spookiness.
Once I had settled on the stamping polishes, which I think all sort of live in a cooler toned purple lane, I had to choose a base polish. I ended up going with a jelly based flakie polish because I felt like that warm glow from within would give an interesting look to the background that I thought would serve this mani really well. I settled on Alchemy Lacquer's Dreamland Sunset, which is this really pretty lilac shade with warm toned shifting flakes through it. I went with two coats as my base, but I did mostly focus my application of the upper half of my nails because I didn't want the tips to get too thick since I had to do three layers of stamping.

Now to create the layered design, I went with images from the Maniology M071 stamping plate, which has quite small images. Because of this, for each layer I did have to go in with my stamping polish once I'd transferred the image and just extend it a little bit so that I didn't end up with any gaps between layers of stamping. This is, unfortunately, a lesson I had to learn by messing it up the first time, but definitely isn't one that I will forget. I also had to be mindful of choosing different slices of the graveyard images to ensure that each nail would be entirely unique even though they are all using the same images.
Once I was happy with my stamping, I went in with a nail art top coat to seal everything in and prevent smearing. Finally, I finished with a generous layer of glossy top coat for shine and volume and to just really bring everything together smoothly. And voila!

All Products Used
Alchemy Lacquers - Dreamland Sunset
KADS - C06 Light Purple
KADS - C07 Bright Purple
KADS - C16 Dark Purple
Apipila Smudge Free Top Coat
Sweet & Sour Lacquer Gloss Sauce Top Coat
Maniology M071 Supernatural: The Spirit Speaks Stamping Plate
Pueen Chunky Transparent Soft Stamper
Pueen Latex Tape Liquid Peel Off Cuticle Guard

I'm so, so stoked about how this mani turned out and I'm really glad that I went with this particular color story. Also, in contrast to the version of this mani that I did last year, I'm glad I changed it up with the flakie base polish along with the glossy finish - I really think it ends up setting the very similar designs apart from each other.
To see how I did this mani - and all of the nail art I post here on the blog - head over to @pblnails and check out the video tutorial. And, of course, be sure to follow me there to keep up on all of my nail art designs, including new Halloween nail art designs every day in October!
Thanks for reading!


0 comments