
NAIL ART: Navy Blue Minimalist Holo Abstract Nails
THIS POST IS IN PARTNERSHIP WITH PUEEN COSMETICS.
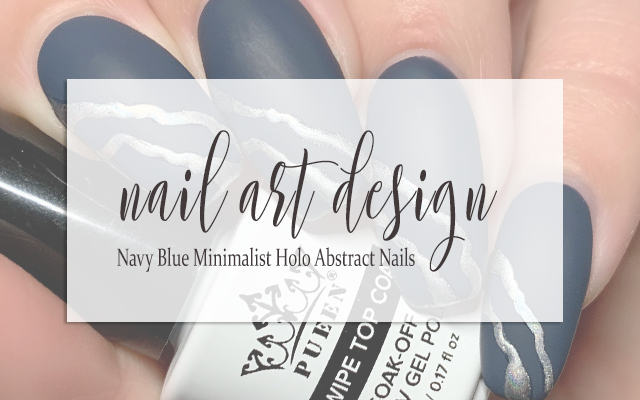
I have come to terms with the fact that I am simply not a minimalism kind of girl, as my version of minimalism seems to just be excluding the kitchen sink but tossing everything else in there. That being said, I recently saw some really simple nail art designs from professional nail techs that were really simple and featured nail powders and I really wanted to do my own version of that type of design. Lucky for me, Pueen sent over their Holographic Nail Art Kit* and it seemed like the perfect time to try out a design that my by standards is very, very minimal but also just... so cool.
Keep reading for more!

I continue to be on a blue kick at the moment and I knew that for this design I really wanted quite a deep blue shade for my base to really give that holo powder a deep base to shine on. I started by applying a generous layer of peel off base coat to all of my nails, as I always do when I'm doing gel nail art, and I let that dry down completely. It's super important to have a full dried layer of peel off before beginning just to ensure that your peel will be smooth.
For the base, I went in with two coats of my deep, smoky blue shade, curing between each coat. Next, I applied a matte gel top coat, which is key to getting a nice crisp application of the nail powder that you can easily brush away any excess on.
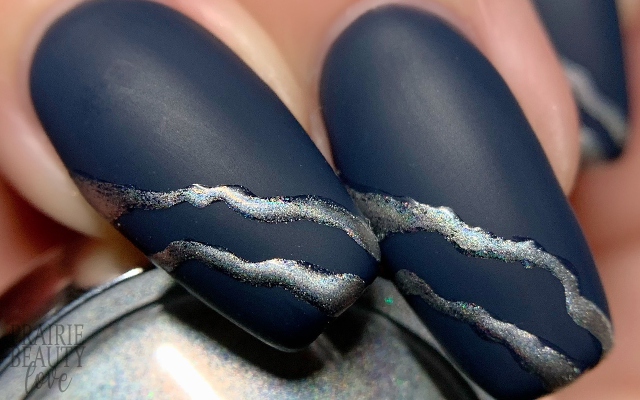
Now, for the actual nail art, I knew I wanted to do these sort of craggy lines, reminiscent of either cracks or the sort of lines of a geode, so I grabbed for a really small liner brush along with the No Wipe Top Coat that is included in the kit. To do the lines, I really just sort of allowed my hand to wobble intentionally as I drew two diagonal lines at the base of each nail and then when I was happy with the lines I cured. Once the No Wipe was cured, I used a pointed silicone tool to buff the powder into the line. You could also use the included sponge applicator, which does a really good job of applying and buffing in the powder, but I just wanted a more targeted application. Once I was happy with the buff, I went in with fluffy brush to just gently wipe away any excess powder before going back in with the No Wipe Top Coat to apply another layer over the powder to seal it in.
Once I was happy with that, I cured once more and voila - fin!
All Products Used
Pueen Cosmetics Holographic Nail Art Kit**
Unt Ready For Takeoff Peel Off Base Coat*
ASP Gel Polish - Deep Blue Sea*
Born Pretty Matte Gel Top Coat
Born Pretty Nail Art Brush*
NailStuff.ca Pointed Silicone Tool*
* = PR Sample, ** = PR Sample/Sponsored

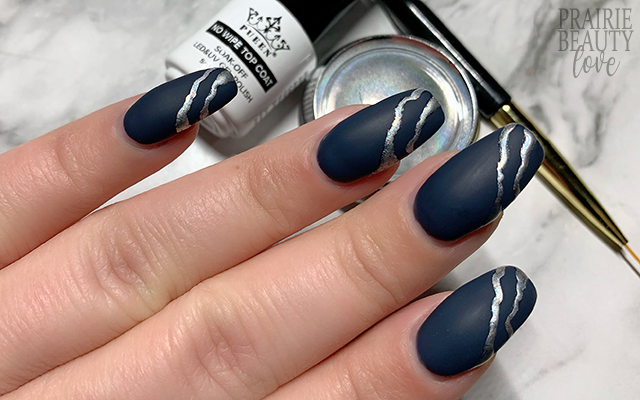
Honestly, I'm so thrilled with how this mani turned out and it immediately has me wanting to try out more of these really simple designs that get their impact from the reflective powders. This design in particular came together so quickly and packs so much punch that I think I will definitely be doing more designs like this soon. Love it!
If you're interested in check out the Pueen Holographic Nail Art Kit*, I think it's a great option. You do need a UV lamp to cure the No Wipe Top Coat, so I would keep that in mind when deciding whether you want to pick it up.
Thanks for reading!


0 comments